This discussion introduces a new series about inverse kinematics for videogames. Before starting our journey, this post will show a few games that use procedural animations, and how they differ from traditional assets-based animations.
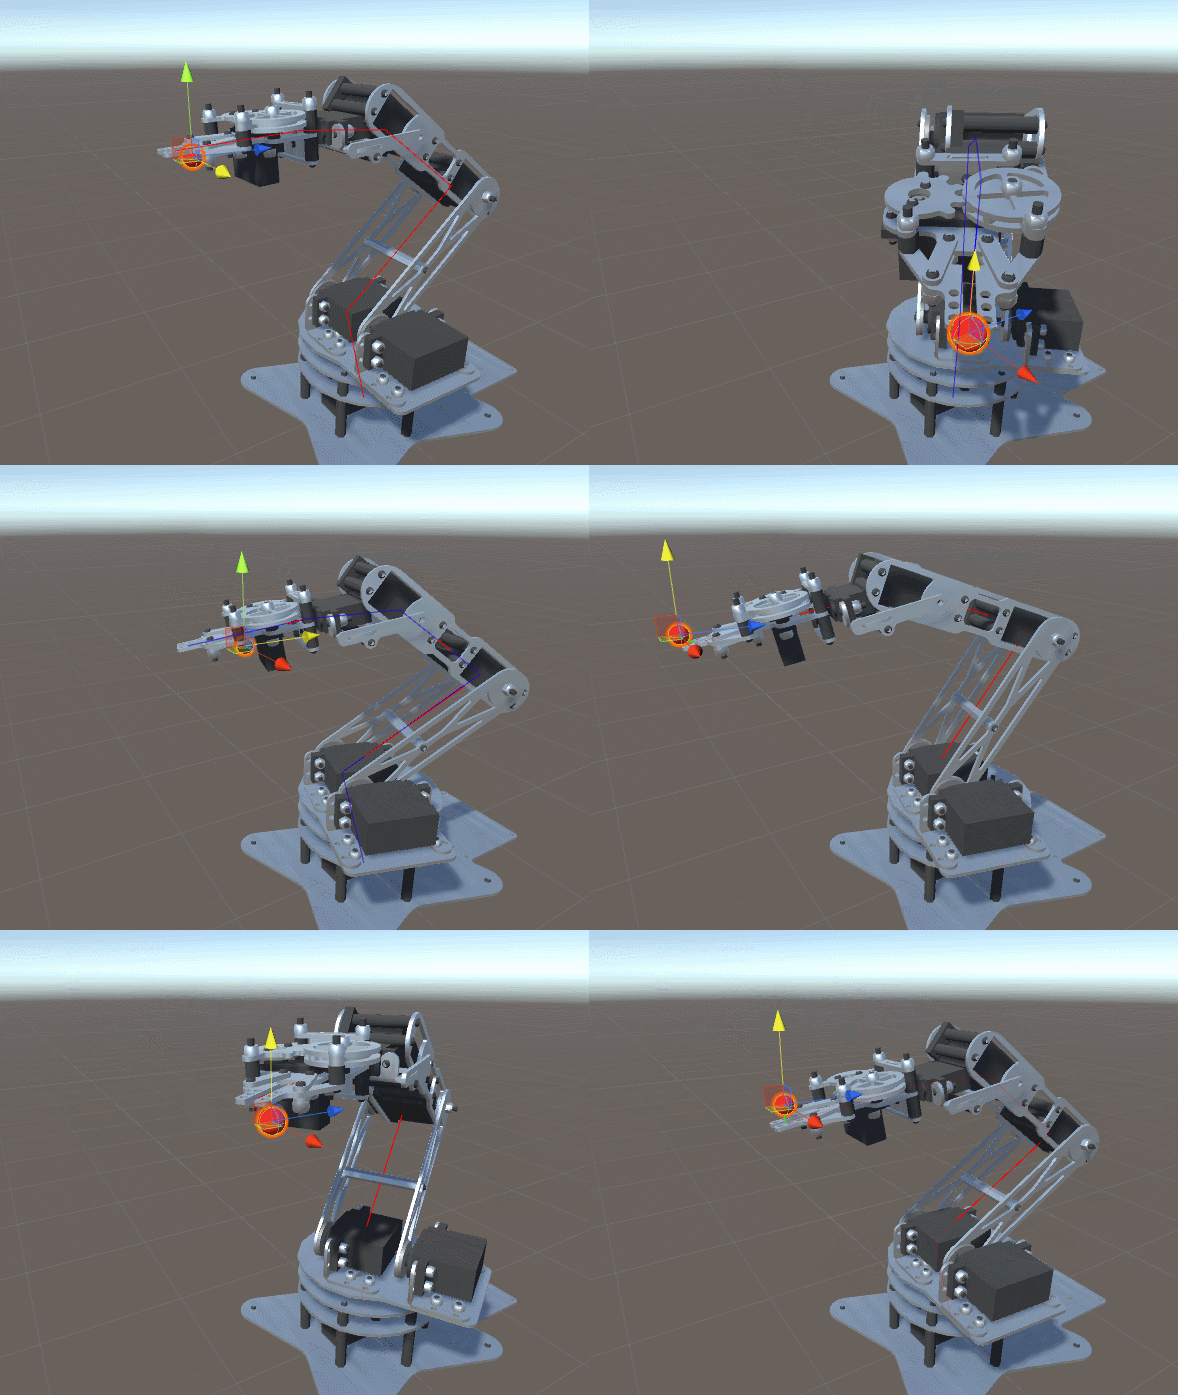
You can find all the other parts here:
- Part 1. An Introduction to Procedural Animations
- Part 2. The Mathematics of Forward Kinematics
- Part 3. Implementing Forward Kinematics
- Part 4. An Introduction to Gradient Descent
- Part 5. Inverse Kinematics for Robotic Arms
- Part 6. Inverse Kinematics for Tentacles
- Part 7. Inverse Kinematics for Spider Legs 🚧 (work in progress!)
At the end of this post you can find a link to download all the assets and scenes necessary to replicate this tutorial.
Introduction
Character animations are, in most games, “static”. Every time a character moves on screen, an artist has created that particularly movement. Whether it was crafted by hand, or recorded using a motion capture suit, animations are predefined assets. When a character needs to perform a different movement, a different animation is required. This way of approaching characters movement is pretty standard in the game industry. Large and comprehensive collections of animations are often available, and they well cover the most common behaviours such as walking, jumping and shooting. Traditional animations dominate the game industry; although there are equally valid alternatives. If you dare venturing further, let me introduce you the concept of procedural animations.
The basic idea is that the moments of a character can be generated procedurally. One of the most common technique to generate animations procedurally, relies on simulating physics. This often takes the name of physically based animations (Wikipedia). A typical example is water; you can animate it by hand, or rely on a simulation that takes into account fluid dynamics.
In the rest of this post we will discuss a very specific subset of physically based animations, which relies on rigid body simulation. This is the same kind of simulation that game engines like Unity and Unreal normally use. Let’s see how such a basic feature has been used in games to create physically based animations.
Ragdoll Physics
At the very heart of physically based animation lies the idea that character movements can be simulated. By replicating the processes and constraints that govern the human body, it is possible to approximate realistic behaviours. One of the most simple, yet effective way to do procedural animations is by using ragdoll physics (Wikipedia). The idea is to create a humanoid body, and to connect each limb with joints that replicate the degrees of freedom that their real counterparts exhibit. Just by relying on rigid bodies physics and joint constraints, it is possible to simulate how a person would fall. This does not only save budget on a “dying animation”. It allows to have characters that realistically fall and interact with their surrounding. Such a task would be nearly impossible to replicate by using a predefined set of animations; no matter how accurate they are.
The biggest disadvantage of ragdolls is that they are highly unpredictable, and often result in accidentally hilarious behaviours.
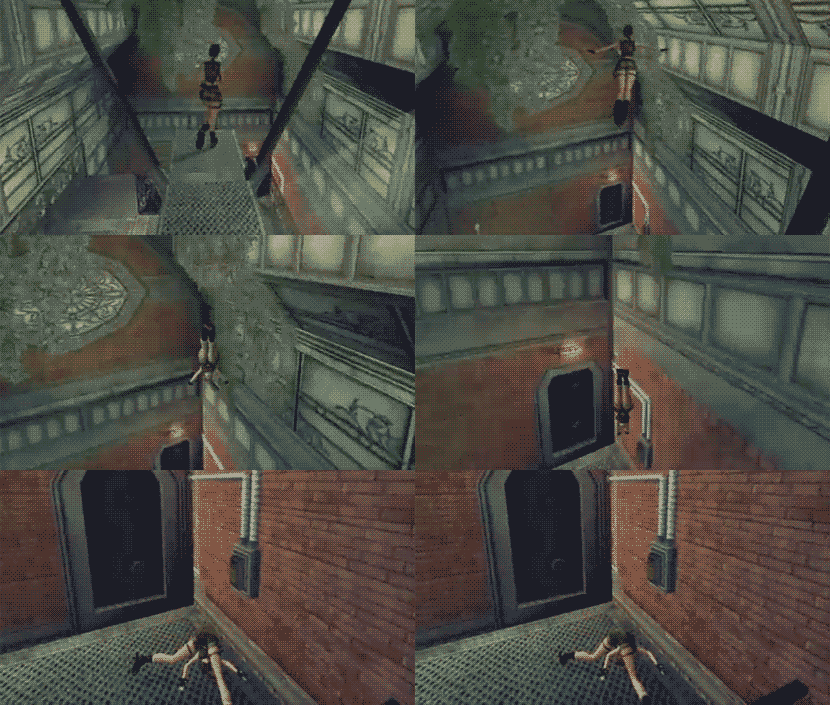
Nowadays ragdolls are pretty standard in games. Unity comes with a simple tool, the Ragdoll Wizard, which allows to quickly turn a humanoid model into a ragdoll.
Rigid Body Simulations
The main problem with ragdolls is that they lack any motor control. Connecting limbs with joints does cause them to walk, or jump. Only to fall. There are situations, however, in which a mixed approach can be used.
In the article How Grow Home Uses Maths To Generate Personality, game journalist Alex Wiltshire talks with Ubisoft about their game Grow Home. One of the main feature of the game is the way the protagonist, BUD, moves. The game does not have predefined animations; at least not in the traditional sense. When the player moves, the position of legs and feet is forced via code. The limbs are subjected to the same constraints of a ragdoll, forcing them to complete the animations in a plausible way.
A similar approach has been widely used in Rain World. Every animal in the game has a body which is made out of several colliders. While some of them are moved via code, the remaining ones are controller by joints. This can be seen in the animation below. The end point of the vulture’s wings are moved programmatically; the remaining bones are linked together using hinge joints. Controlling the end points automatically results in a fluid animation that would be otherwise impossible to achieve.
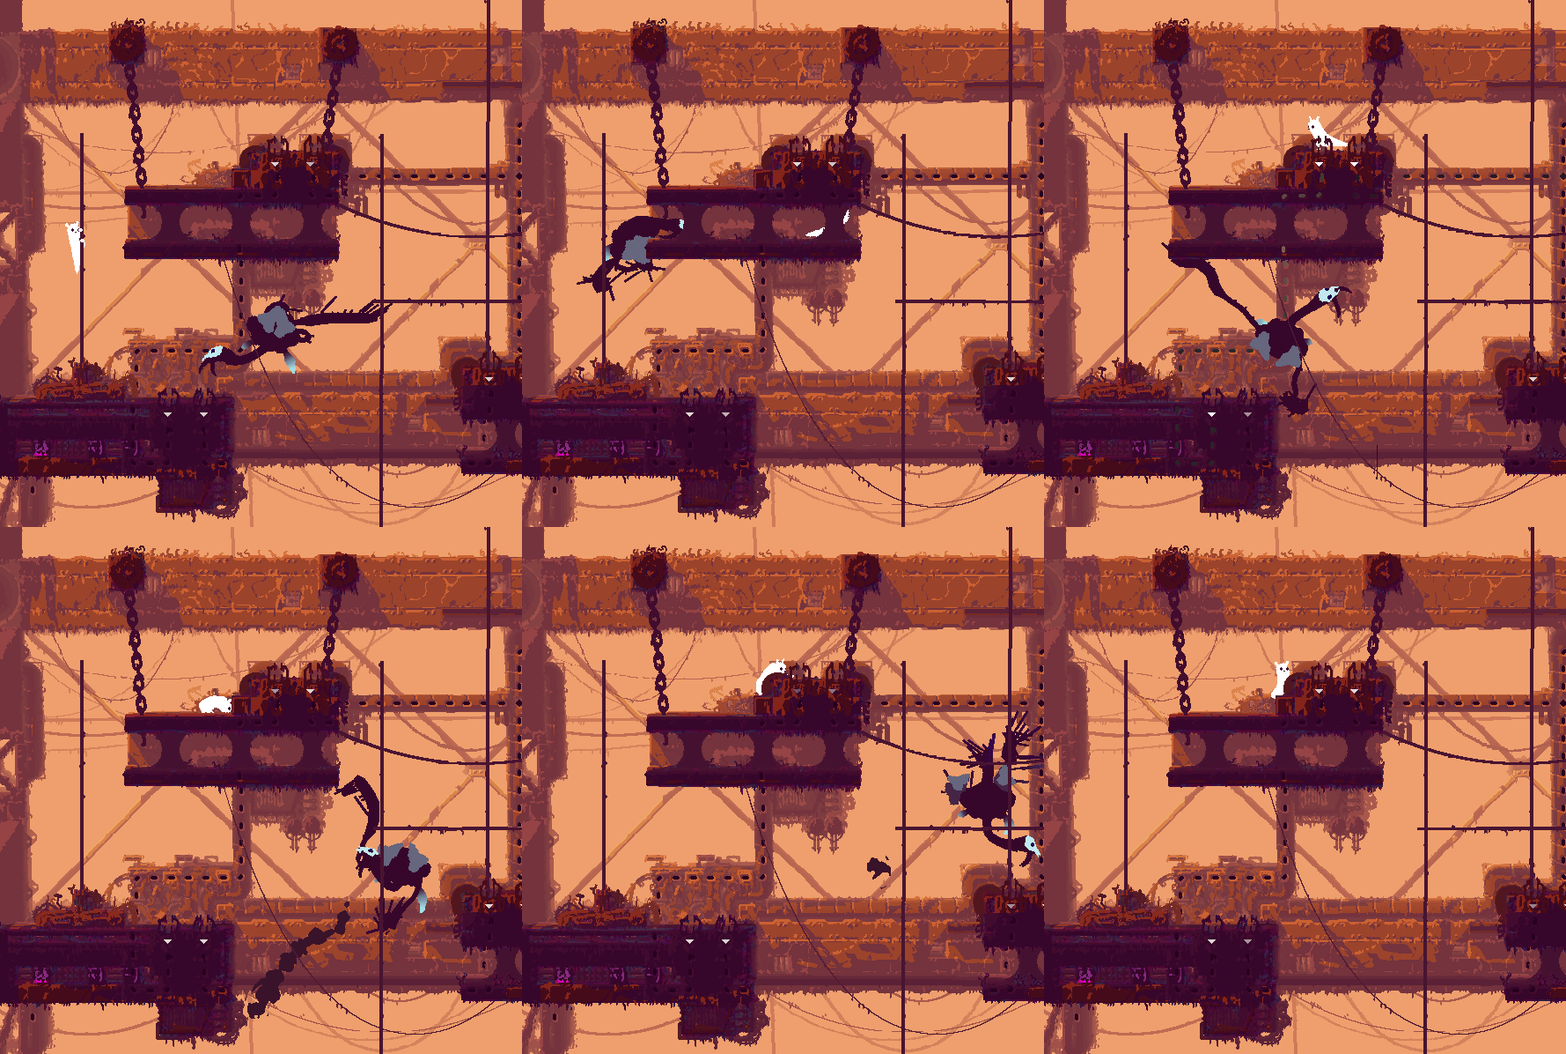
Both Grow Home and Rain World use procedural animations to increase the realism of their characters. The controllers, however, do not rely on them. A game that expands this concept even further is Gang Beasts. The game fully embraces the floppy behaviours that occur as a result of using ragdoll physics, creating silly characters that moves unpredictably.

Inverse Kinematics
Rigid body simulations allow to simply animations. We specify where the hands and legs of BUD should be, and we let the physics engine to the rest. This very simple approach works with simple characters, but often fails on realism. Rigid body simulations only take into account things like gravity and mass, but they lack any contextual knowledge. In many application, you might want something that does not behaves only under the constraints imposed by gravity and joints.
The ultimate step in the creation of procedural animations is known as inverse kinematics. Given a ragdoll of any kind, inverse kinematics finds how to move it to reach the desired target. While Grow Home and Rain World let the physics determine how the joints would move when subjected to gravity, inverse kinematics forces them into a desired stance.
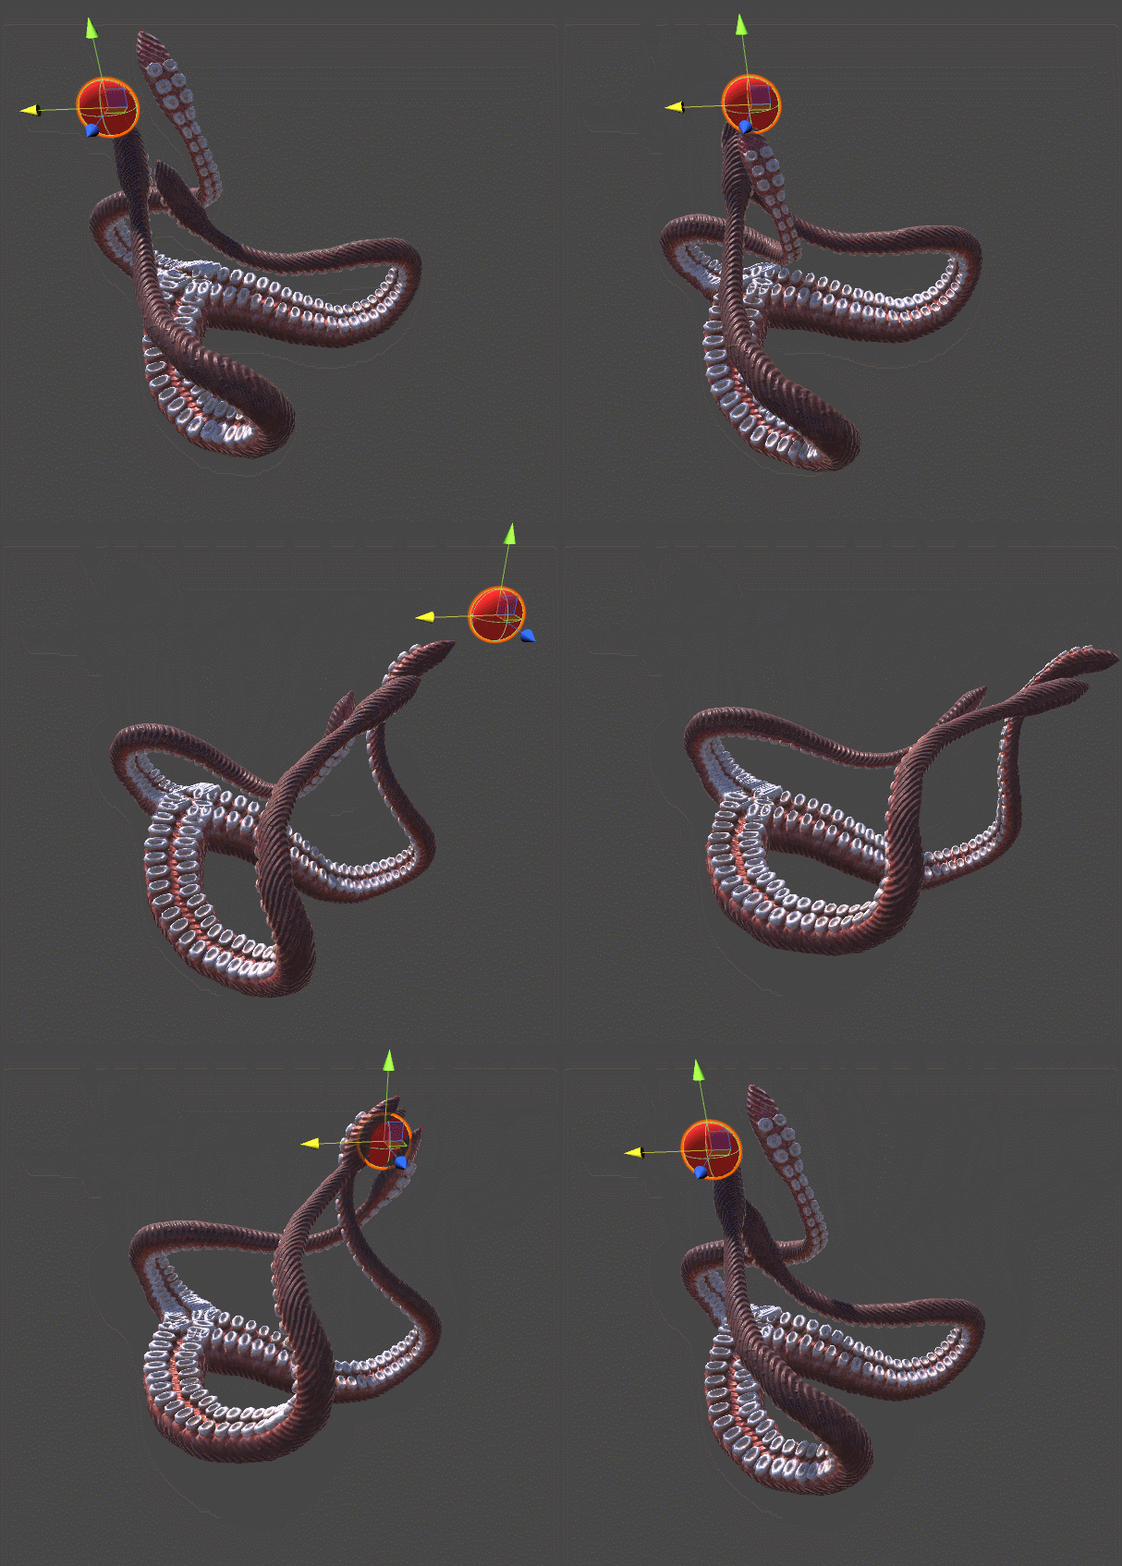
One of the first indie games that heavily relied on this concept is The Majesty Of Color, by Future Proof Games. Here, the player controls the tentacle of a marine creature. Compared to the vulture’s wing in Rain World, this tentacle is not simply controlled by hinge joints. Each segment rotates in such a way that the end point of the tentacle can reach the desired point. If this animation relied purely on a rigid body simulation, the tentacle would look as if it was “pinned” to its target, like a piece of string.
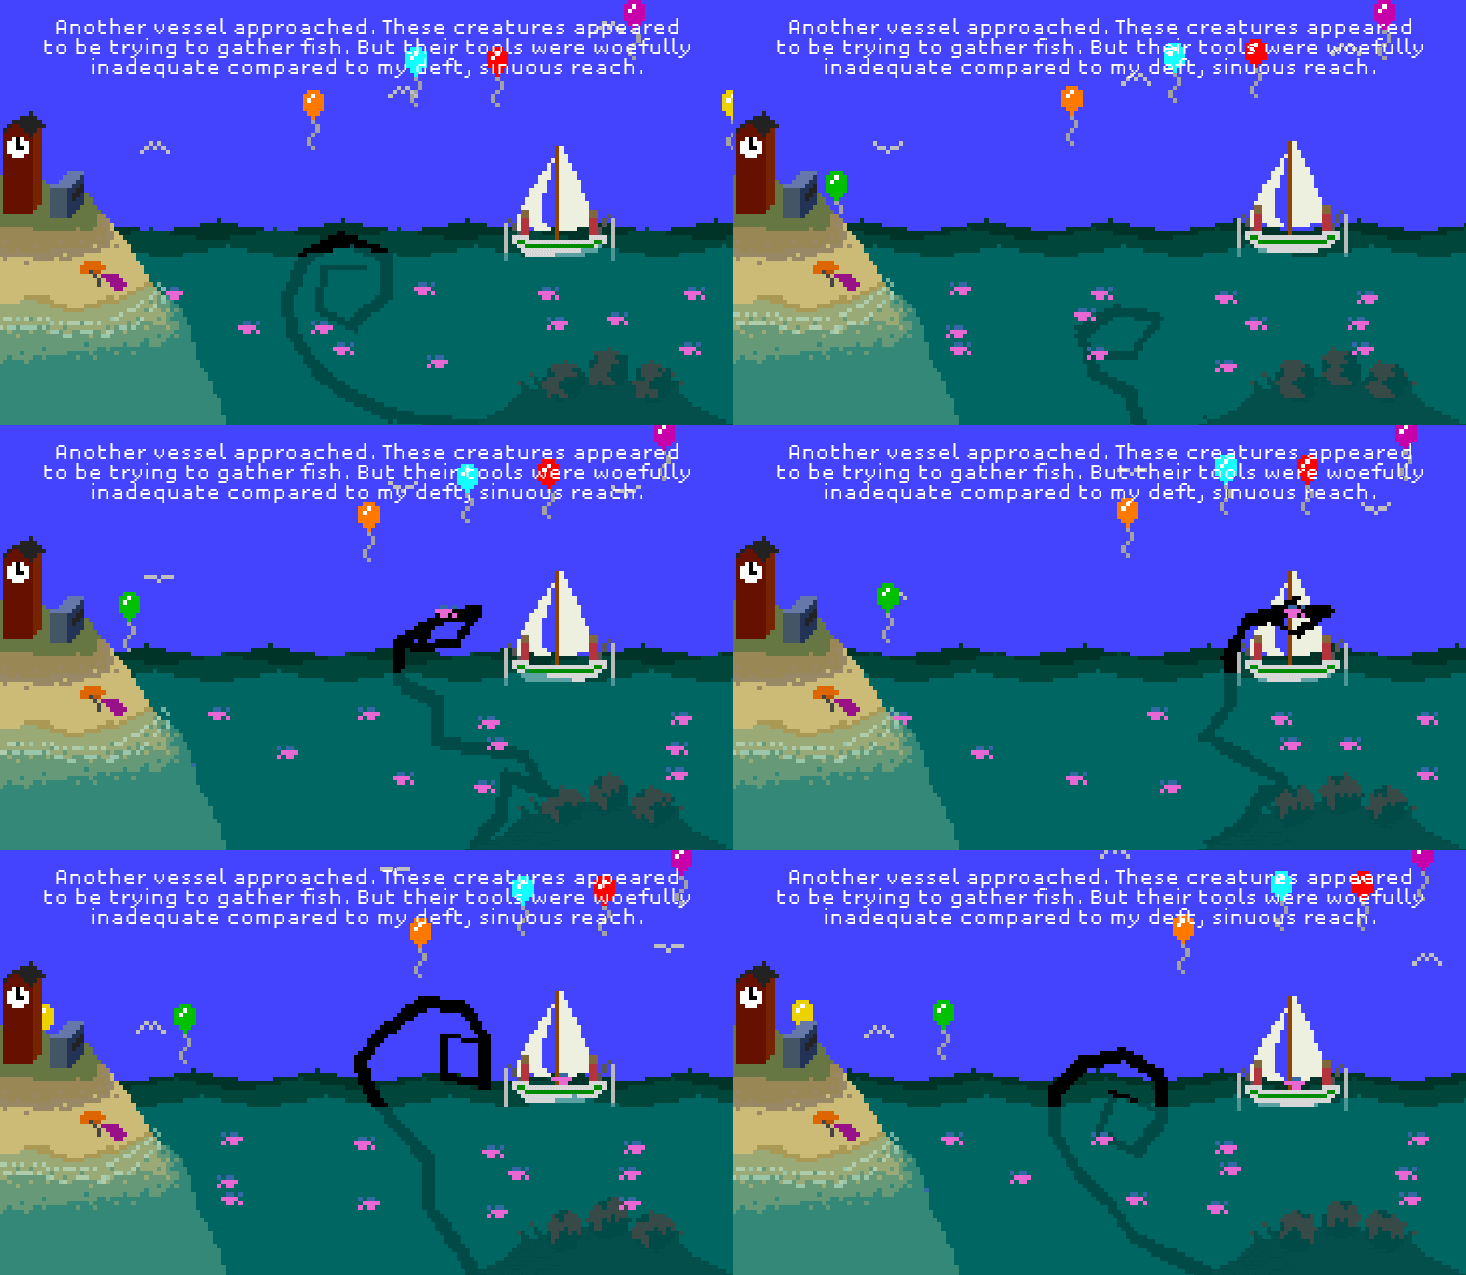
Inverse kinematics can be used for a variety of tasks. The most common ones allow humanoid characters to reach for certain objects in a natural way. Instead of using a custom animation, developers only specify the target that the hand needs to reach. Inverse kinematics will do the rest, finding the most natural way to move the arm’s joint. Simply relying on a rigid body simulation would result in “dead legs” which appear as if they were dragged.
Mechanim, Unity’s animation editor, comes with a tool (Unity Manual) that allows developer to use inverse kinematics in humanoid character.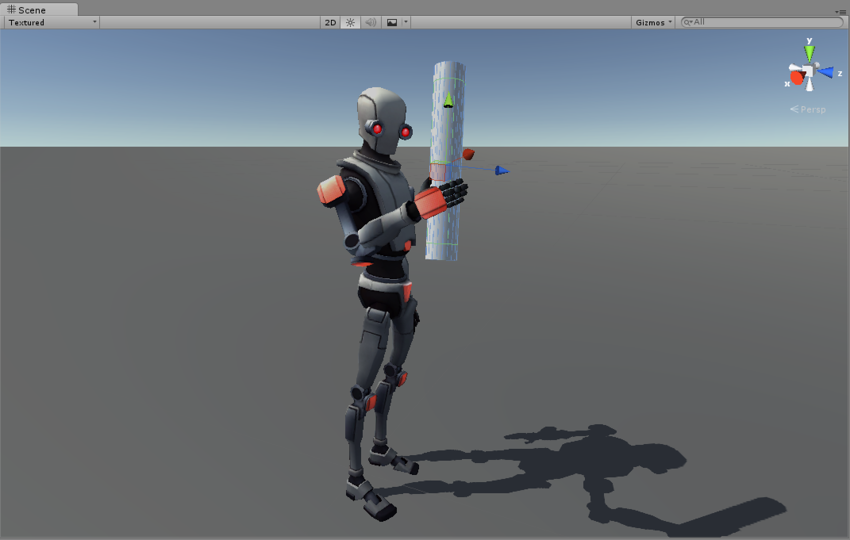
The rest of this tutorial will focus on how to solve the problem of inverse kinematics. Whether you have a robotic arm, or a monster tentacle that you want to move realistically towards a target, this is the tutorial you have been looking for.
Other Resources
- Part 1. An Introduction to Procedural Animations
- Part 2. The Mathematics of Forward Kinematics
- Part 3. Implementing Forward Kinematics
- Part 4. An Introduction to Gradient Descent
- Part 5. Inverse Kinematics for Robotic Arms
- Part 6. Inverse Kinematics for Tentacles
- Part 7. Inverse Kinematics for Spider Legs 🚧 (work in progress!)
Become a Patron!
Patreon You can download the Unity project for this tutorial on Patreon.
Credits for the 3D model of the robotic arm goes to Petr P.
Credits for the 3D model of the tentacle goes to Daniel Glebinski.
💖 Support this blog
This website exists thanks to the contribution of patrons on Patreon. If you think these posts have either helped or inspired you, please consider supporting this blog.
📧 Stay updated
You will be notified when a new tutorial is released!
📝 Licensing
You are free to use, adapt and build upon this tutorial for your own projects (even commercially) as long as you credit me.
You are not allowed to redistribute the content of this tutorial on other platforms, especially the parts that are only available on Patreon.
If the knowledge you have gained had a significant impact on your project, a mention in the credit would be very appreciated. ❤️🧔🏻


Really looking forward to this series!
By the way, I just felt like dumping some super-exciting top-secret related knowledge right here:
https://forum.unity3d.com/threads/mechanim-pain.420398/page-2#post-3029424
Unity is adding pose-handling features to its Playables API in the form of AnimationScriptPlayables and TransformStreamHandles. This makes IK handling much cleaner and more efficient than the current standard approach of handling it in the LateUpdate() and modifying transform positions. It’s not out yet but it’s some really exciting stuff!
Cool! Thank for linking to this.
This forum post is from 2012 is this stuff already implemented?
the thread is old, but that particular post (with the AnimationPlayables) is from last week. It’s not out yet, but it should be coming soon enough. Playables API is already out of experimental in Unity 2017.1 beta
It’s “Gang Beasts” not “Gang Best” 😛
Thank you! Typo corrected!
Hi Alan, I’m about to start this tutorial series that looks very interesting. And I saw that the link to part 8 is not working. Is there a way to fix that?
Thank you,
Seba.
Hey!
The tutorial on spider legs is not ready yet, unfortunately!
Oh, I thought the link was dead.
Thank you for these tutorials. I will start them as soon as I can.
Cheers.
Let me know how it goes!
Cade o tutorial da aranha aaaaaaaaaaaaaaaaaah kkk, parabéns pelo trabalho, e posta esse tutorial que o universo precisa
Thanks for the write-up, amazing!
The link to the last tutorial is broken unfortunately.
Hi! I have not had a chance to finish that unfortunately!
Wow, i’m really interested in procedural animation but i’m an absolute beginner in gamedev (but have exp in 2d animation and motion graphics and kinda can 3d model). This tutorial makes me feel like it’s not that far away to accomplish the basics of a thing that i imagine like a great part of a potential game style for my projects. Thanks a lot, you made my day and inspired me to keep going! <3
I’m glad to hear that!
If you go through my tutorial list, I have many more series about inverse kinematics and procedural animations! Some are easier than this one!