This post will show how to simulate the diffusion of smoke using shaders. This part of the tutorial focuses on the Maths and the code necessary to recreate the smoke effect. To learn how to set up your project, check out the first part: How to Use Shaders For Simulations.

- Introduction
- Part 1. The Maths
- Part 2. The Shader
- Part 3. Simulating Turbulences
- Conclusion & Downloads
Introduction
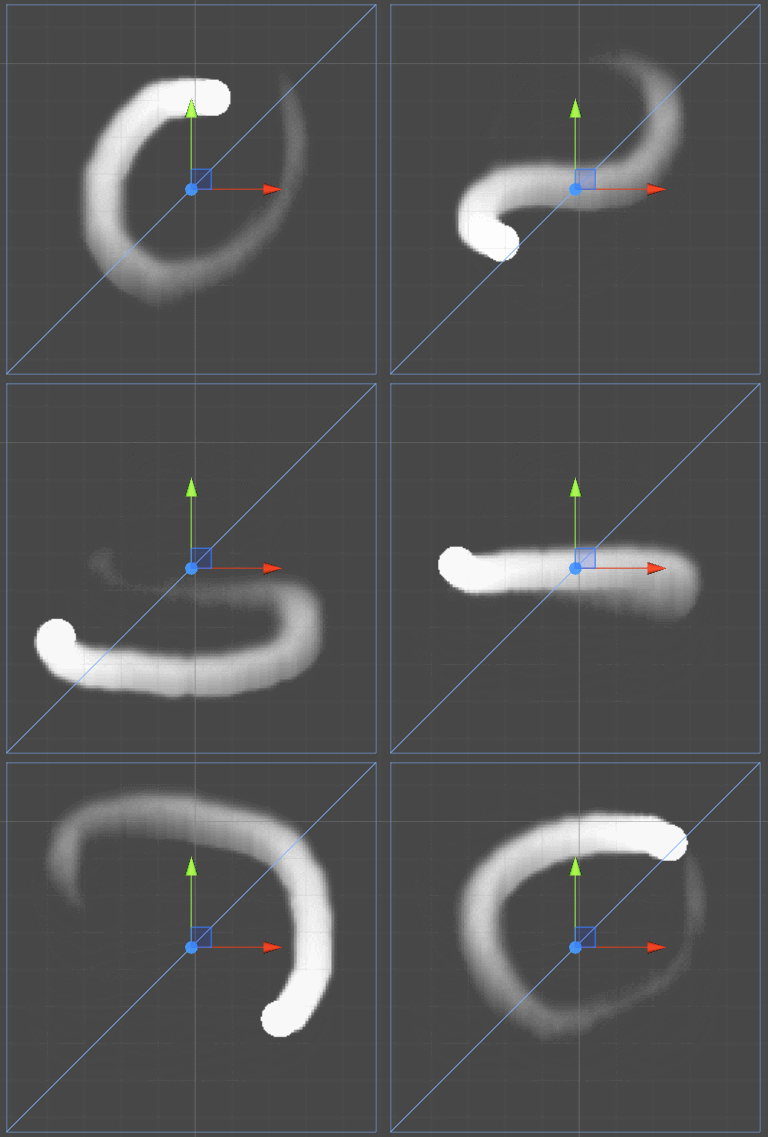
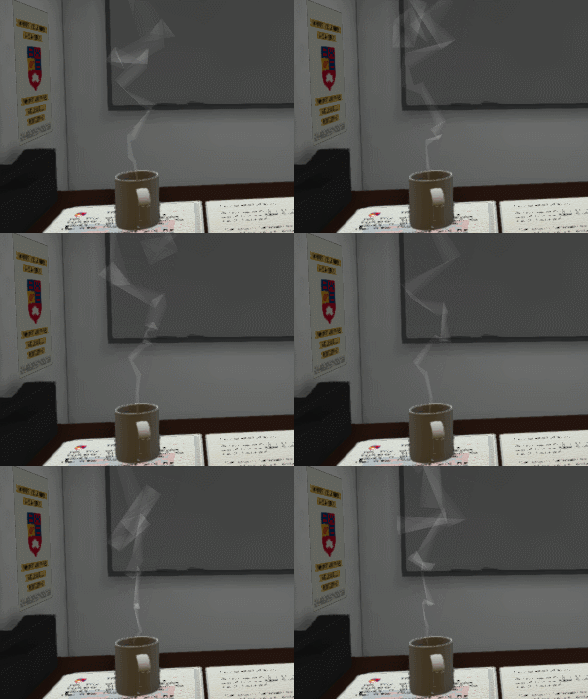
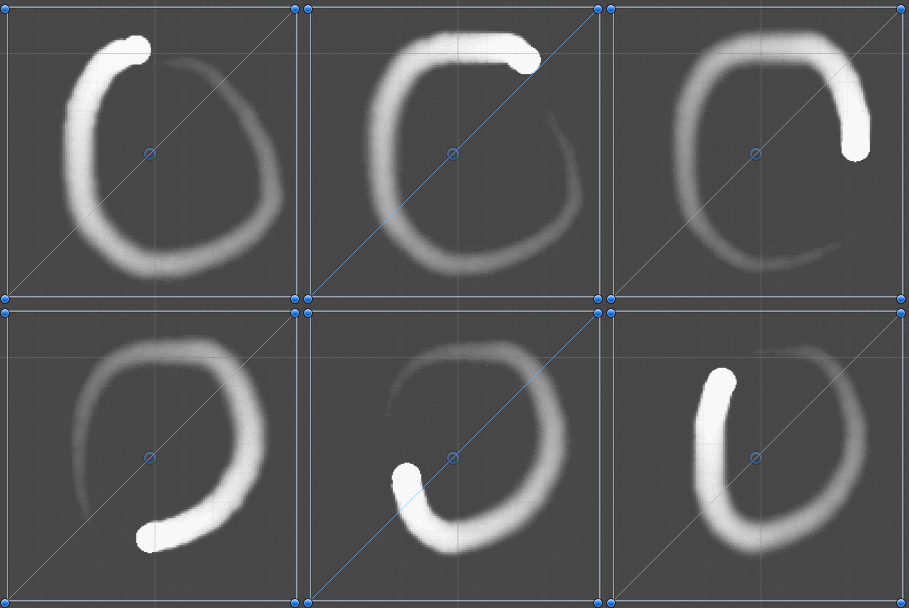
Creating realistic smoke in games has always been a challenge. The reason behind this is the fact that the large scale behaviour of smoke is determined by the complex interactions of billions of tiny particles, floating in air. Throughout the history of game development there have been many attempts to simulate smoke, mostly based either on particles or trails (animation below). Neither of these, however, are able to reproduce with fidelity the actual behaviours of a fluid when exposed to perturbations. To compensate for that, we need to simulate fluid dynamics. Like it happens with physics, you don’t actually need to simulate every aspects of fluid dynamics; you want something that looks good, but that is not too computational intensive.
Part 1. The Maths
There are two main approaches to fluid dynamics: Lagrangian and Eulerian. While the former uses virtual particles to simulate the moving particles in a fluid, the latter divides the space into a grid. For this tutorial, we will focus on a simple grid-based smoke simulation. The value of each cell ![]() in the grid indicates the flow
in the grid indicates the flow ![]() (or “amount of smoke”) contained; you can imagine it as a way of approximating its “density” in a given space. Simulating how the smoke behaves is now a matter of understanding how the density diffuses between adjacent cells.
(or “amount of smoke”) contained; you can imagine it as a way of approximating its “density” in a given space. Simulating how the smoke behaves is now a matter of understanding how the density diffuses between adjacent cells.
Another assumption we introduce is that a cell can exchange flow only with its four immediate neighbours. This given a good approximation and reduces the number of texture lookups we need to perform for each pixel to five.
There are two components that determines how diffusion works. The first one is the incoming flow ![]() from the four neighbour cells:
from the four neighbour cells:
![]()
The outgoing flow of each cell is divided equally to its four neighbours, hence the ![]() coefficient.
coefficient.
The second component is the the outgoing flow ![]() . Not all the flow is transmitted at once, so we’ll use the diffusion coefficient
. Not all the flow is transmitted at once, so we’ll use the diffusion coefficient ![]() to indicate the rate at which the amount of smoke in a cell is diffused to its four neighbours:
to indicate the rate at which the amount of smoke in a cell is diffused to its four neighbours:
![]()
To sum it up, the net balance of ![]() after a diffuse iteration is:
after a diffuse iteration is:
![]()
Part 2. The Shader
The post How to Use Shaders for Simulations shows how a fragment shader can be used to iterate over a texture. We will use the same technique, encoding the flow (or amount of smoke) into the alpha channel of the main texture _MainTex. This allows to easily integrate a smoke effect into your game by simply overlaying a textured quad.
Grid representation
The first problem we encounter is the fact that we are using a grid-based approach, but this is a concept that is not present in a shader. Yes, images are indeed made out of pixels, but this is a concept that is not that easily accessible in a fragment shader. If we are using a standard Unity quad for this experiment, the pixels drawn by the shader are addressed by the quad UV. By knowing the size of the render texture we are using, we can use the value to find out which pixels we’re currently drawing. As a general approach, we will force the UV values of the fragment shader to assume values at fixed intervals, simulating a grid:
fixed2 uv = round(i.uv * _Pixels) / _Pixels;
half s = 1 / _Pixels;
The variable s indicates the distance between two cells. Now we can sample a texture like we can do with a grid:
// Neighbour cells
float cl = tex2D(_MainTex, uv + fixed2(-s,  0)).a;	// F[x-1, y  ]: Centre Left
float tc = tex2D(_MainTex, uv + fixed2( 0, -s)).a;	// F[x,   y-1]: Top Centre
float cc = tex2D(_MainTex, uv + fixed2( 0,  0)).a;	// F[x,   y  ]: Centre Centre
float bc = tex2D(_MainTex, uv + fixed2( 0, +s)).a;	// F[x,   y+1]: Bottom Centre
float cr = tex2D(_MainTex, uv + fixed2(+s,  0)).a;	// F[x+1, y  ]: Centre Right
If you prefer, you can use a more intuitive grid-like notation:
#define ARRAY(T,X,Y) (tex2D((T), uv + fixed2(s*(X), s*(Y))))
float cc = ARRAY(_MainTex, 0,0).a; // F[x+0, y+0]: Centre Centre
The last step is to implement the diffusion step:
float4 frag (v2f_img i) : COLOR
{
	// Cell centre
	fixed2 uv = round(i.uv * _Pixels) / _Pixels;

	// Neighbour cells
	half s = 1 / _Pixels;
	float cl = tex2D(_MainTex, uv + fixed2(-s, 0)).a;	// Centre Left
	float tc = tex2D(_MainTex, uv + fixed2(-0, -s)).a;	// Top Centre
	float cc = tex2D(_MainTex, uv + fixed2(0, 0)).a;	// Centre Centre
	float bc = tex2D(_MainTex, uv + fixed2(0, +s)).a;	// Bottom Centre
	float cr = tex2D(_MainTex, uv + fixed2(+s, 0)).a;	// Centre Right

	// Diffusion step
	float factor =
		_Dissipation *
		(
			0.25 * (cl + tc + bc + cr)
			- cc
		);
	cc += factor;

	return float4(1, 1, 1, cc);
}
Running this exact fragment shader, however, will not work as expected. Floating point arithmetic will collapse small numbers to zero, eventually stopping the smoke from flowing. To avoid this, Omar Shehata suggests in How to Write a Smoke Shader to enforce a minimum flowing quantity:
// Minimum flow
if (factor >= -_Minimum && factor < 0.0)
	factor = -_Minimum;
cc += factor;
This provides a nice fluid dynamic which uniformly diffuses smoke in every direction, until it disspates.
⭐ Suggested Unity Assets ⭐
Simulating turbulences
The formula derived causes smoke to diffuse uniformly and in all directions. If we want the smoke to move up, we need to promote transmission to the upper cell.

In general, we can add four coefficients for each cell (![]() ,
, ![]() ,
, ![]() and
and ![]() ) that indicates the amount of flow to transmit in each direction.
) that indicates the amount of flow to transmit in each direction.
![]()
When ![]() , we obtain the equation derived in the previous paragraph. If we set
, we obtain the equation derived in the previous paragraph. If we set ![]() to a higher value, we simulate an upward movements of the smoke. By using this improved equation we can simulate obstacles, for instance by setting certain coefficients to zero, preventing the diffusion of the flow in certain regions. Updating these velocities at runtime can also simulate winds and other turbulences in the fluid medium where the smoke is moving.
to a higher value, we simulate an upward movements of the smoke. By using this improved equation we can simulate obstacles, for instance by setting certain coefficients to zero, preventing the diffusion of the flow in certain regions. Updating these velocities at runtime can also simulate winds and other turbulences in the fluid medium where the smoke is moving.
All the four coefficients can be baked into an additional texture, called _VelocityTex, which accommodates ![]() ,
, ![]() ,
, ![]() and
and ![]() in its RGBA components, respectively.
in its RGBA components, respectively.
Conclusion & Download
The technique shown in this tutorial is perfect to simulate diffusion phenomenon. Both smoke, water and temperature follows a similar pattern. The series Creeper World bases its gameplay entirely on a similar approach; a sentient blob is expanding, following exactly the diffusion algorithm explored in this tutorial.
What is really missing from this effect is the relationship between the float and the velocity. Our solution keeps these two entities separate, but in a real scenario this is not the case. The state of the art solution when it comes to fluid simulation is given by the Navier-Stoke equations, which described fluid dynamics with incredible precision. Unfortunately, they are rather complicated and GPU intensive. For a primer on this technique, you can refer to Fast Fluid Dynamics Simulation on the GPU.
You can download the full Unity project of this tutorial here.
The next part of this tutorial (How to Simulate Cellular Automata with Shaders) will iterate on grid-based technique to implement one of the most interesting cellular automata: Conway’s Game of Life. Cellular automata will be used in a later tutorial to simulate the flow of water.
Other resources
- Part 1. How to Use Shaders for Simulations
- Part 2. How to Simulate Smoke with Shaders
- Part 3. How to Simulate Cellular Automata with Shaders
💖 Support this blog
This website exists thanks to the contribution of patrons on Patreon. If you think these posts have either helped or inspired you, please consider supporting this blog.
📧 Stay updated
You will be notified when a new tutorial is released!
📝 Licensing
You are free to use, adapt and build upon this tutorial for your own projects (even commercially) as long as you credit me.
You are not allowed to redistribute the content of this tutorial on other platforms, especially the parts that are only available on Patreon.
If the knowledge you have gained had a significant impact on your project, a mention in the credit would be very appreciated. ❤️🧔🏻


Hi Alan, I’m getting the error (srcAttach < m_CurrentFramebuffer.colorCount && "We should always resolve only current RT") when running the project.
I did some investigating and a colleague told me this is a Mac OS specific bug and to get around you need a RenderTexture.active = null (or turn off anti-aliasing on the RT).
public class ApplyShader : MonoBehaviour
{
public Material material;
public RenderTexture texture;
private RenderTexture buffer;
public Texture initialTexture; // first texture
void Start ()
{
Graphics.Blit(initialTexture, texture);
RenderTexture.active = null;
buffer = new RenderTexture(texture.width, texture.height, texture.depth, texture.format);
}
// Postprocess the image
public void UpdateTexture()
{
Graphics.Blit(texture, buffer, material);
Graphics.Blit(buffer, texture);
RenderTexture.active = null;
}
// Updates regularly
private float lastUpdateTime = 0;
public float updateInterval = 0.1f; // s
public void Update ()
{
if (Time.time > lastUpdateTime + updateInterval)
{
UpdateTexture();
lastUpdateTime = Time.time;
}
}
}
I did a slight hack to get the smoke to match up with the mouse point also in the SmokeShader.shader
Line 95: if (distance(i.wPos, (_SmokeCentre+0.5)) < _SmokeRadius)
Thank you!
Hey Alan
the link to “How to Use Shaders for Simulations” isn’t working, same on cellular tutorial. But if you use google you’ll find another page in the website with the same title.
Thanks for the cool stuff.
Hey!
What happens if you visit the page? Broken link?
I tried and seems they are working on the machine I am using!
(both downloads are for +$10 patrons)
Hey, Alan, great tutorial.
Could you explain what exactly is _Pixels ? What type it is? How should I declare it in Properties and in Pass scopes? In Properties, I put
_Pixels(“Base (RGB) Trans (A))”, 2D) = “white” {}
and in Pass I put
sampler2D _Pixels
but the line fixed2 uv = round( i.uv * _Pixels ) / _Pixels; didn’t work.
Thank you!
Hi Alan. Here’s the updated link to that nVidia article you put at the end of this article: https://developer.download.nvidia.com/books/HTML/gpugems/gpugems_ch38.html